Tess’s House- 5/1/16
These are a few pictures from before, a few pictures from early on, and a few pictures from right at the end of a renovation project that is now “finished.”
There are more pictures that I will try and accumulate (from the owner and others who were around during the project. But, sadly, at the moment these are the only shots I have.
Before I was able to get any truly finished pictures, a family who are renting the house had started to move things in.
99% of the carpentry and all the specific design was done by me as well as most demo, the new drywall hanging, new basement posting/jacking, and some of the interior painting.
So, scroll down, look at the pictures, read the captions…. just relax and enjoy! As Bob Cody has been heard to say, “I love work, I could watch it all day…”
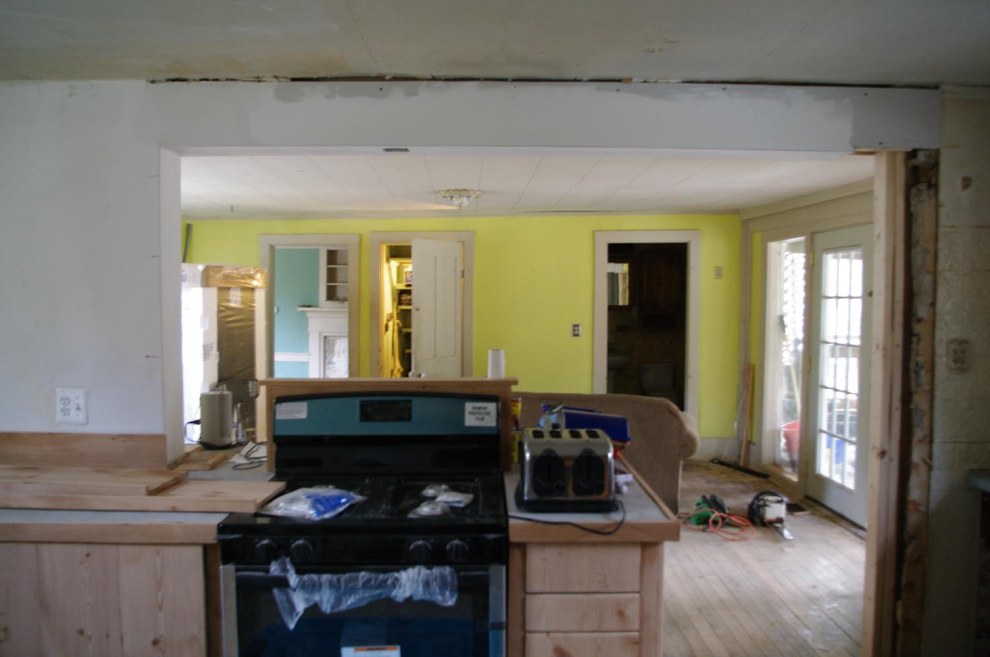
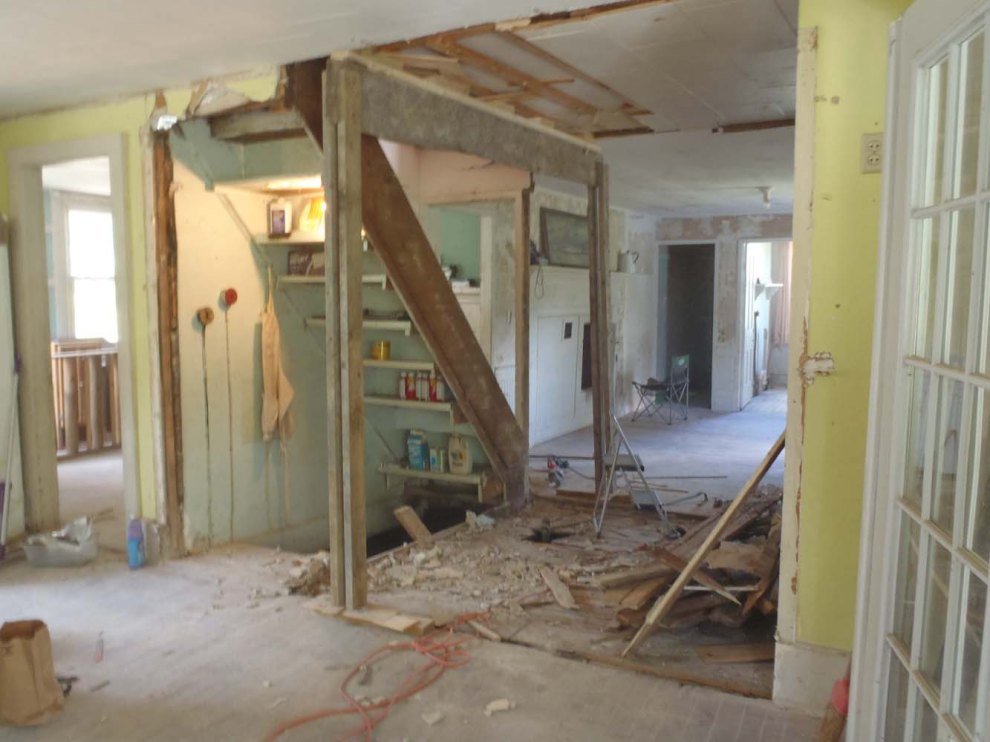
This is a view of the house looking from the kitchen, which had been partially built before I began. Ahead on the right was the door to the bathroom, and in the middle the door to the cellar

A view of the same wall, but from an entrance door

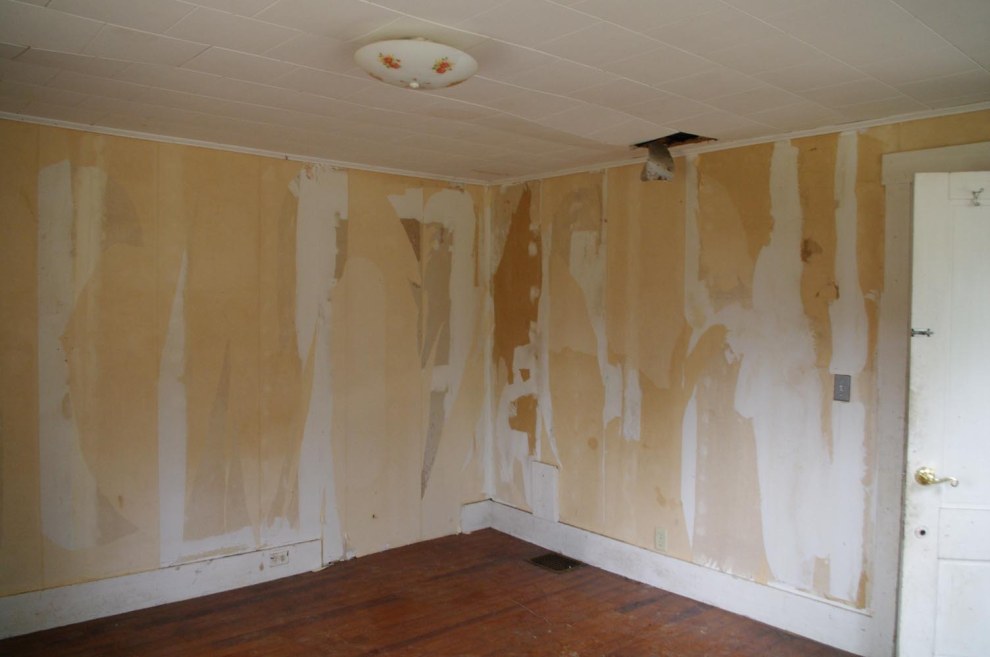
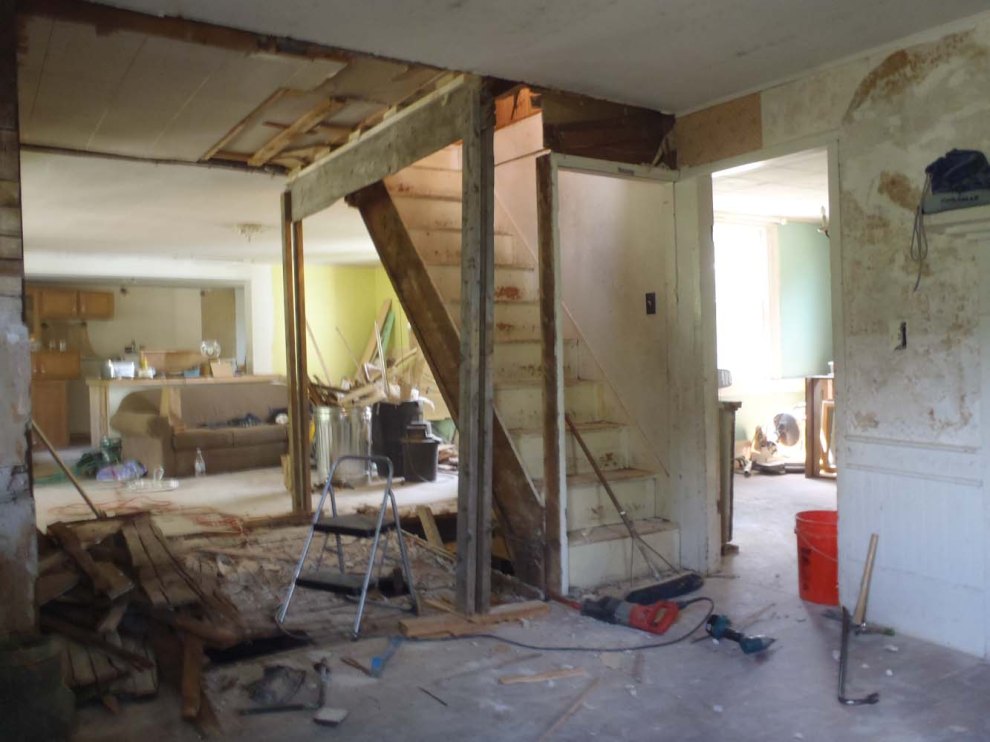
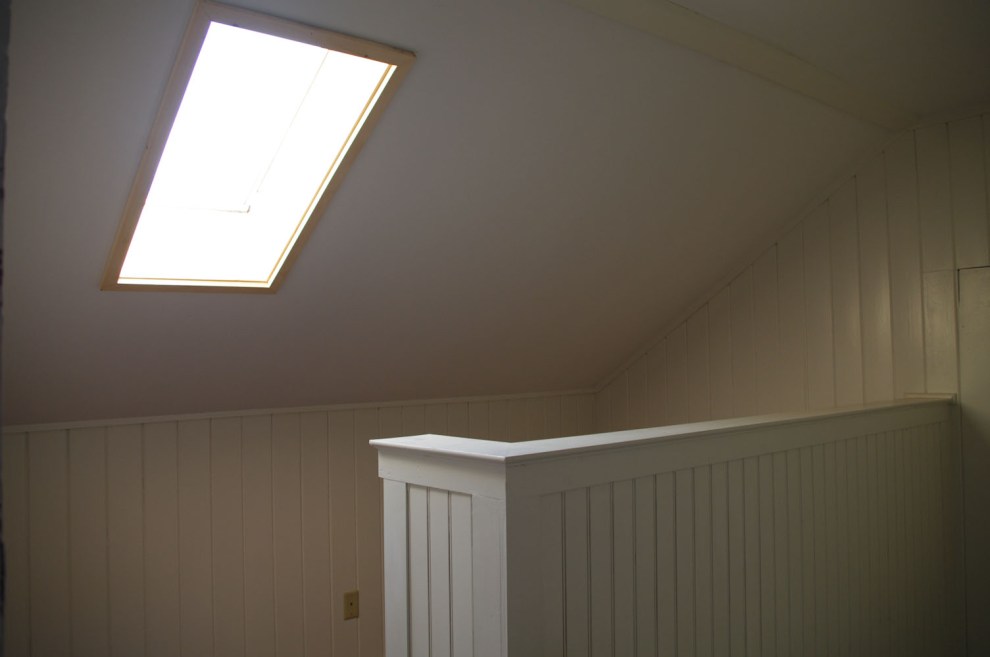
A view of the room on the other side of the wall from the bathroom, facing the same direction. Standing in front of the doorway that led upstairs, inside the two doors ahead were a closet and a laundry room.

A slightly different view

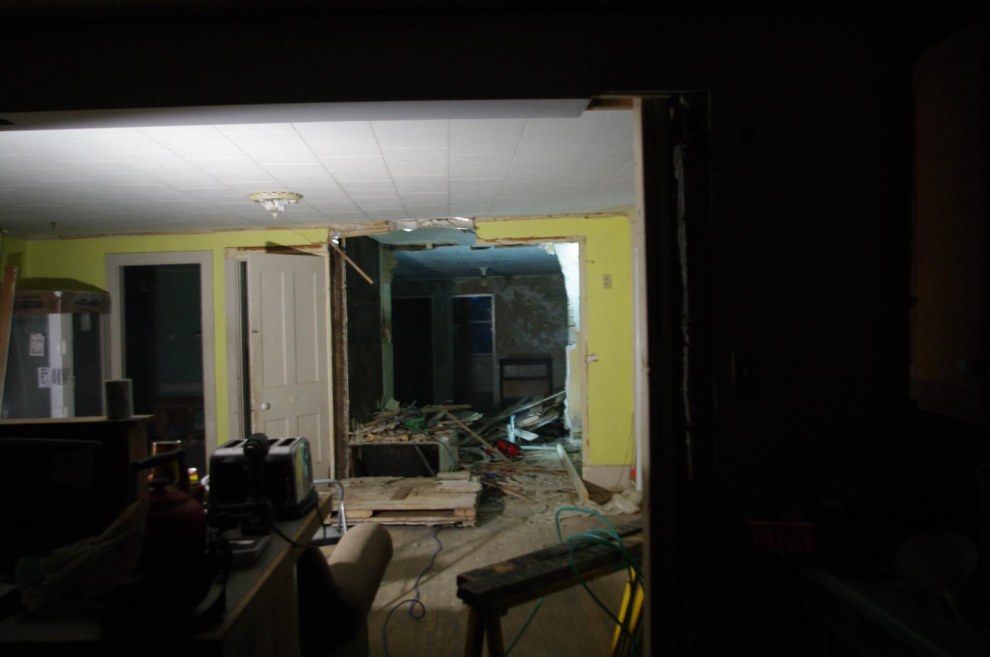
Now we are looking from the the 1st room thru the bathroom into the room from the previous shots, thanks to a sledge hammer or a sawzall. (most likely both)
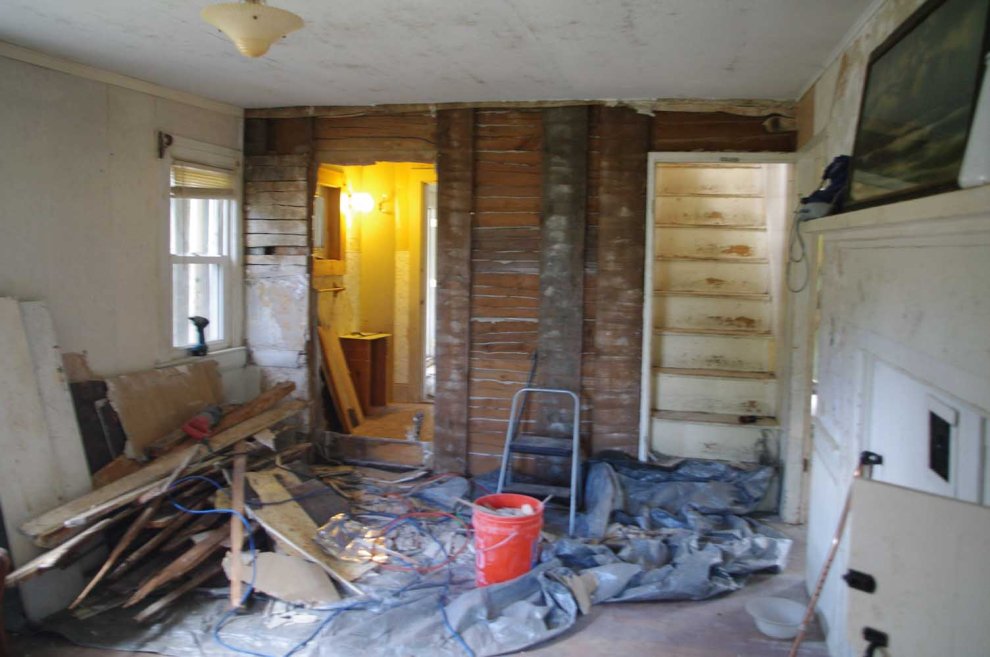
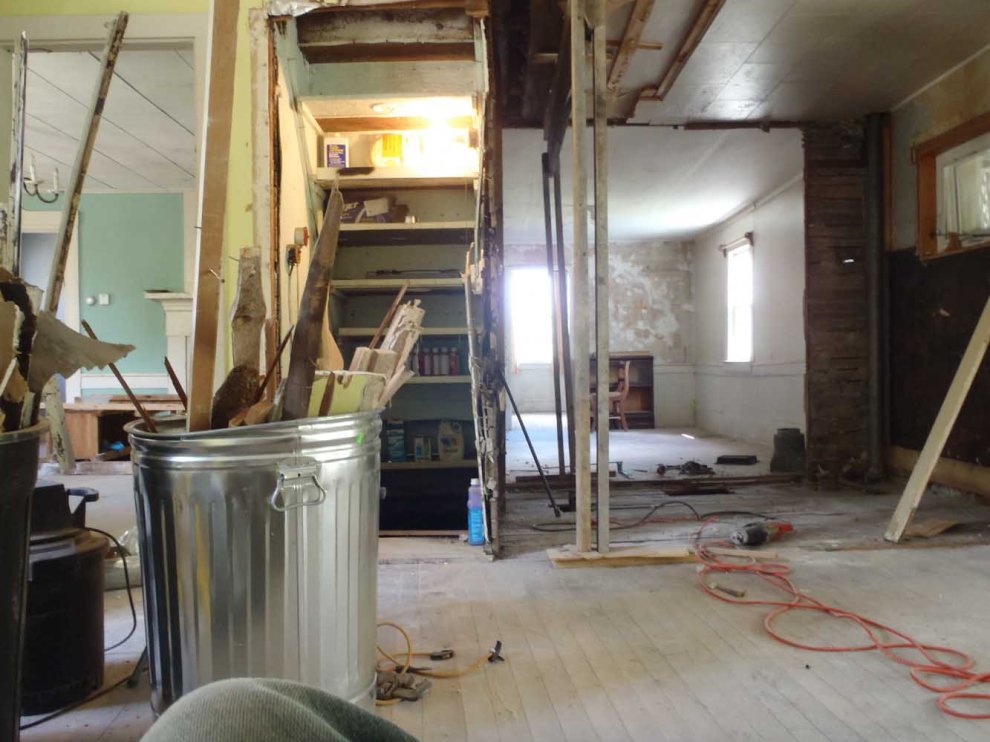
Here is a back room at the front of the house (hmmm?)
I think that the next bunch of pictures will be self evident as to what is going on where…

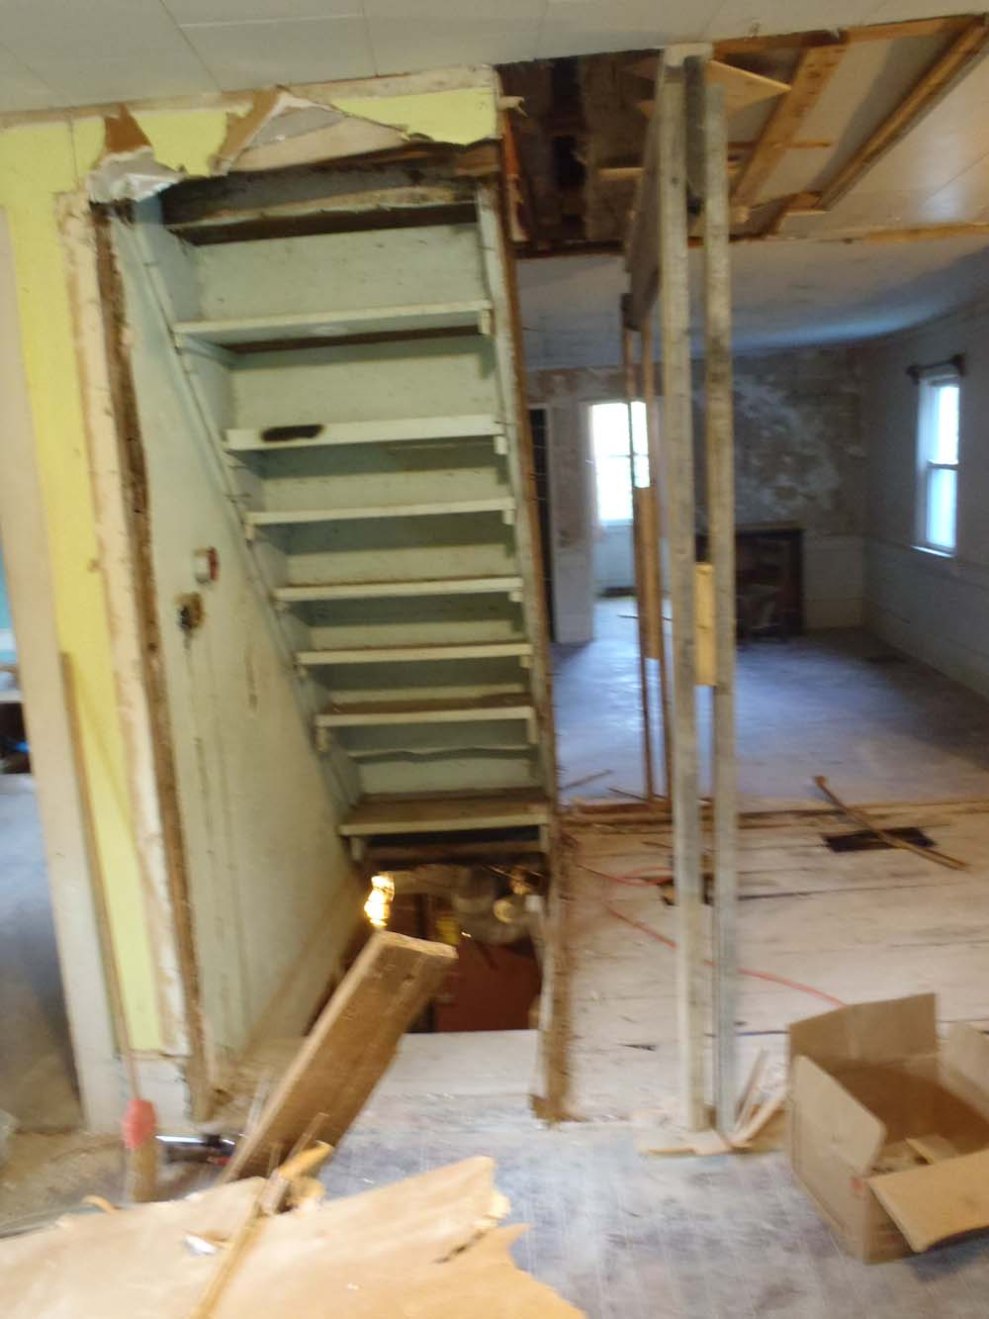
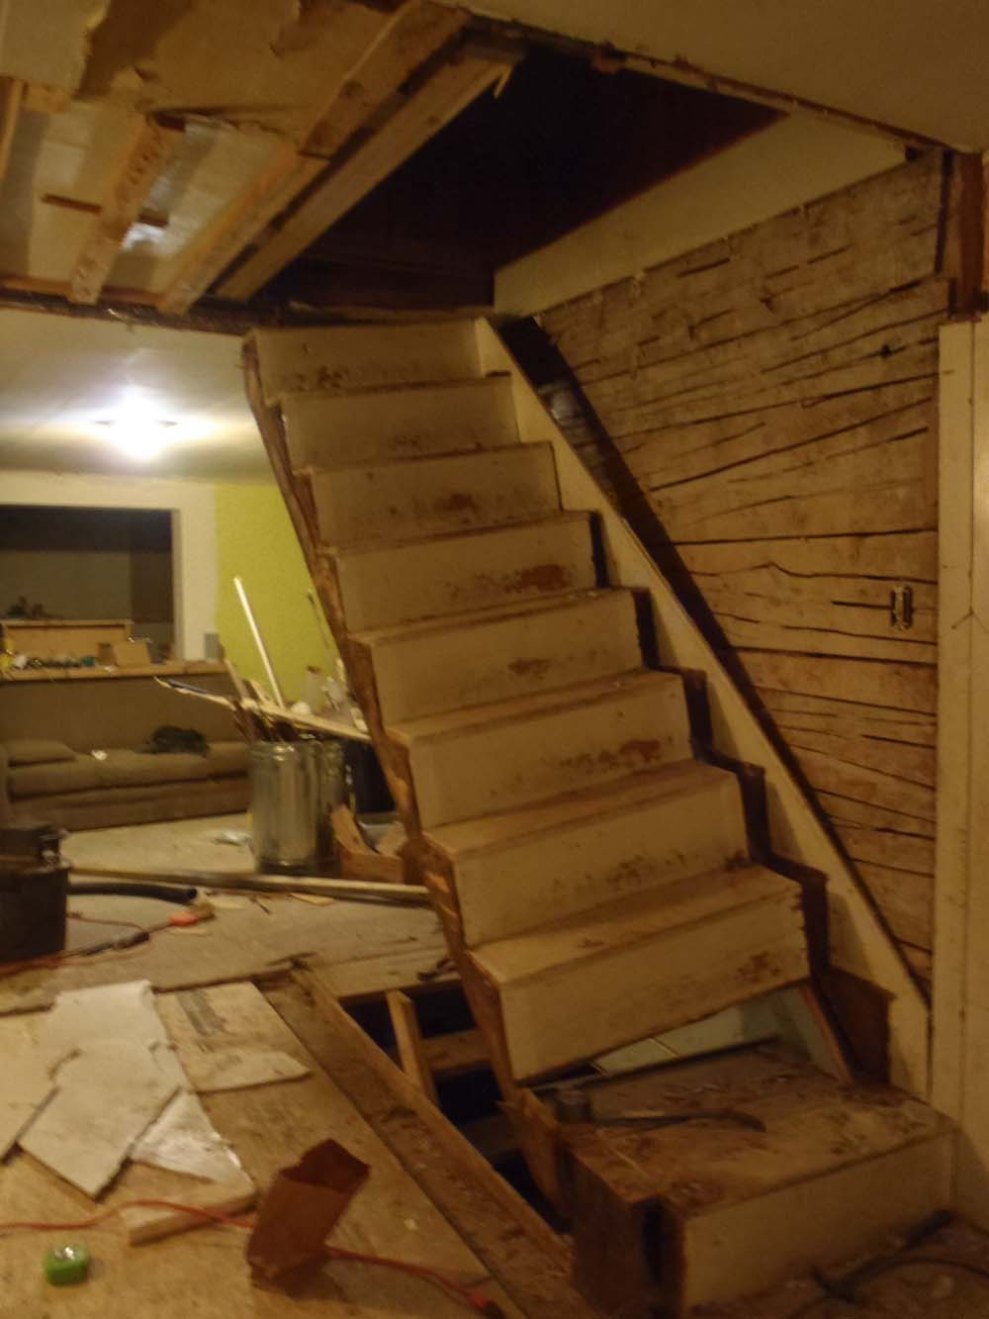
There are the original stairs… they led straight (and steeply!) into a wall. Good times.
This one (a few hours younger then the previous) shows the cool wall construction of the house… 2×10’s, (rough-sawn, tight grained, old growth spruce and hemlock) laid out on the flat, sandwiched between rough 1x split lathe. A process in which boards split along the grain while nailing to the “studs” so to make cracks for the subsequent layers of plaster to key into. I have encountered this before, but I don’t know if this process precedes sawn lathe, or was just a cheaper and probably faster way to go… It makes for a really beautiful wall when you remove the plaster.

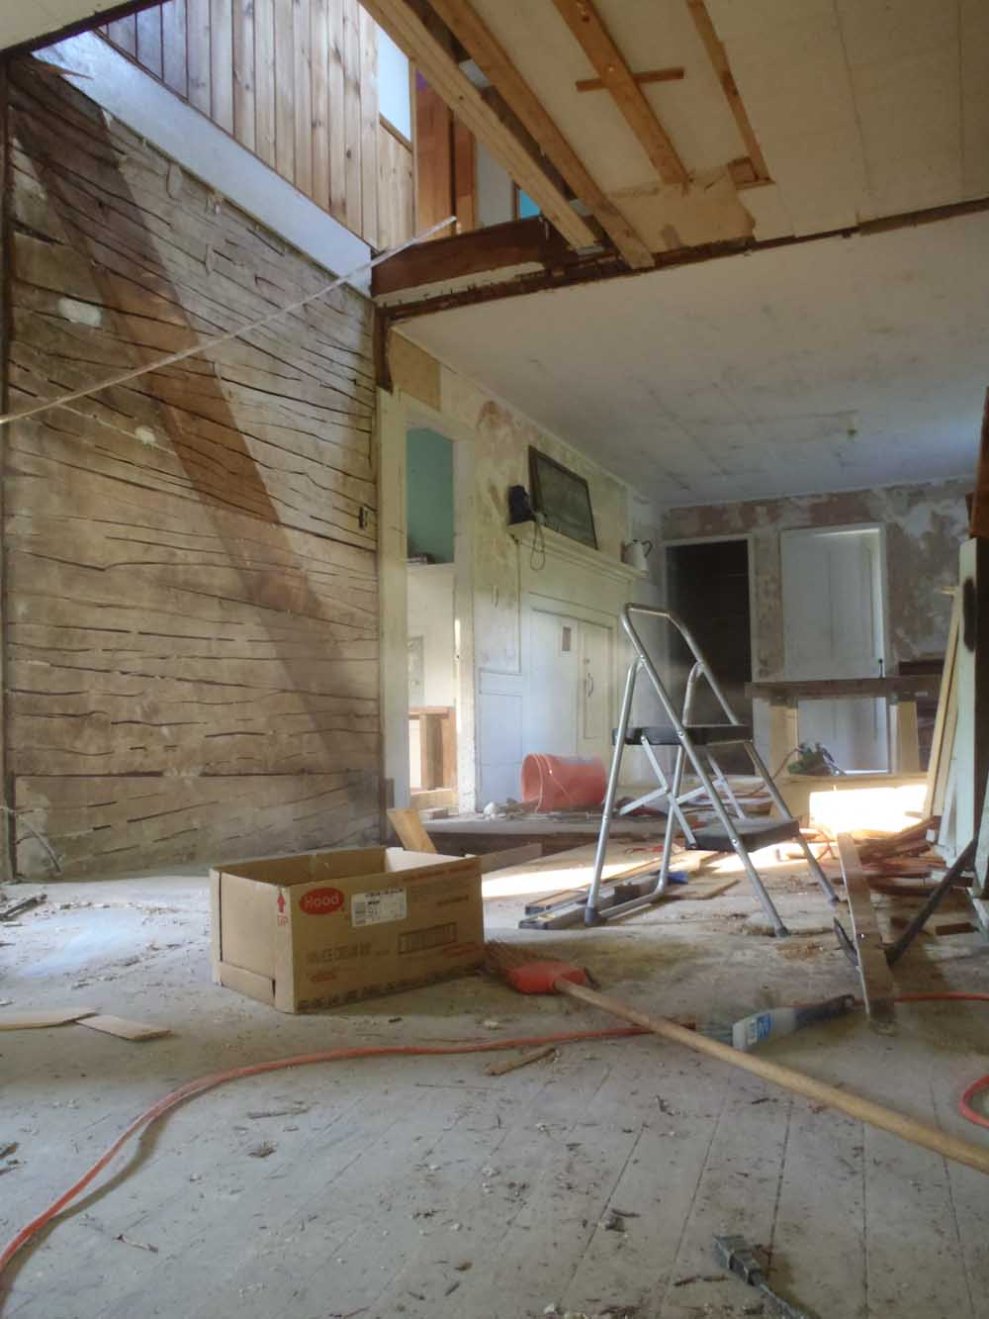
This looks to me like a set-piece of a bombed-out house. Maybe it’s the lighting,
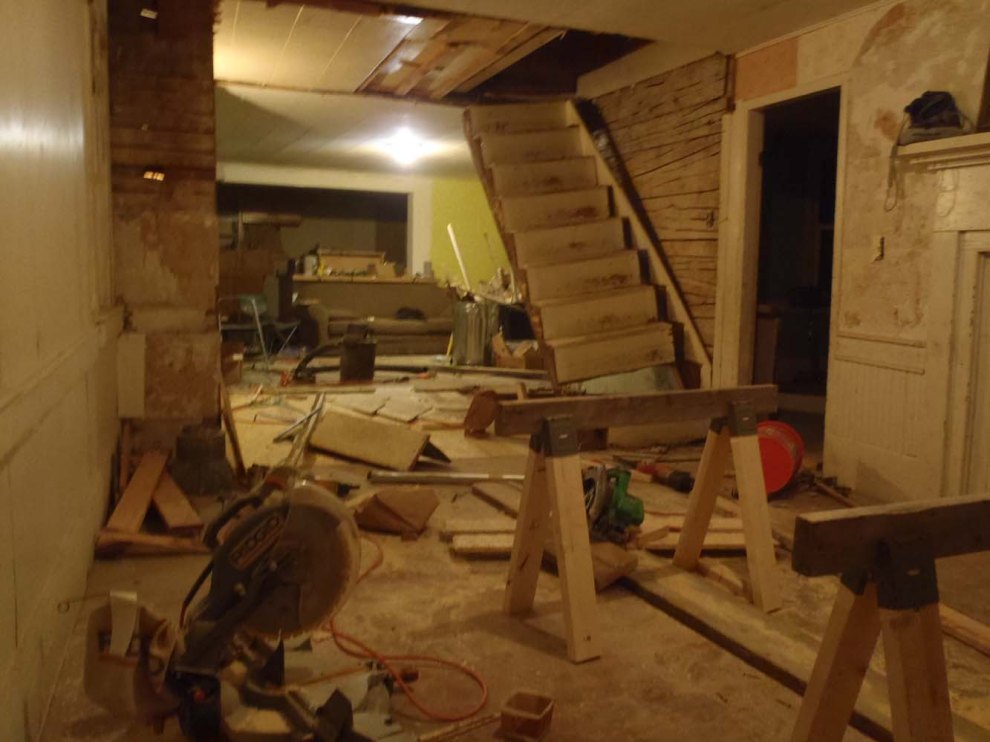
Now the stairs are coming out In order to make the new stairs wider. I had to support a bit of the upstairs floor so i could remove the beam that the floor joists (beams actually) were attached to. Lots of fun with the sawzall!

Looks like I got that beam out. Yay for me.
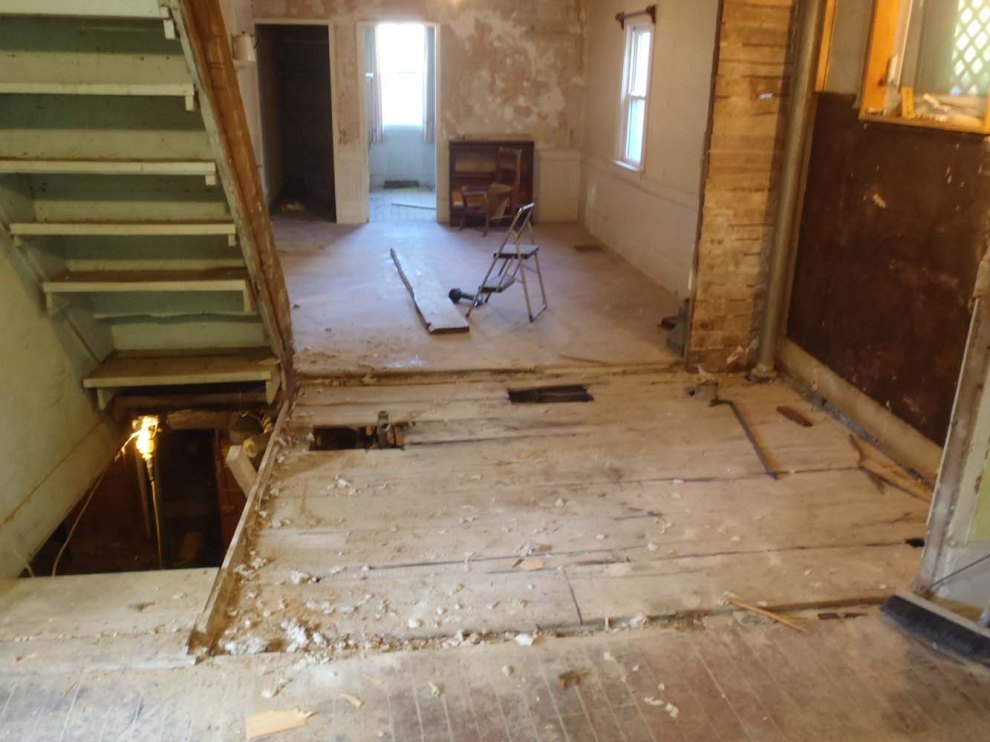
That old bathroom floor was a little spongy…

Yup, that floor had to go!
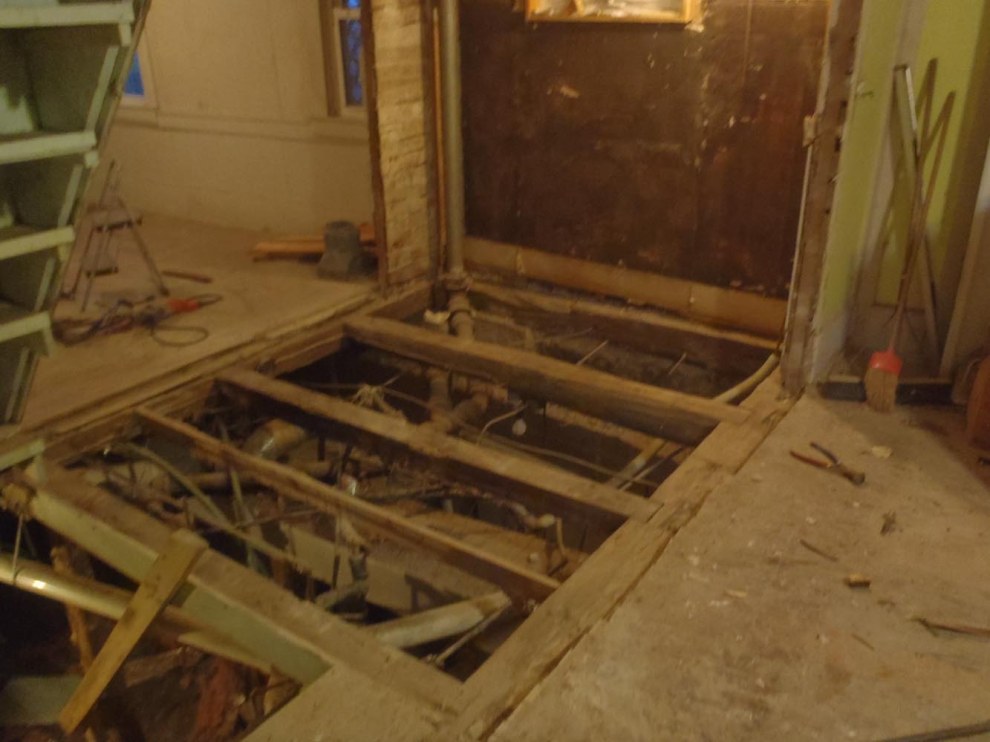
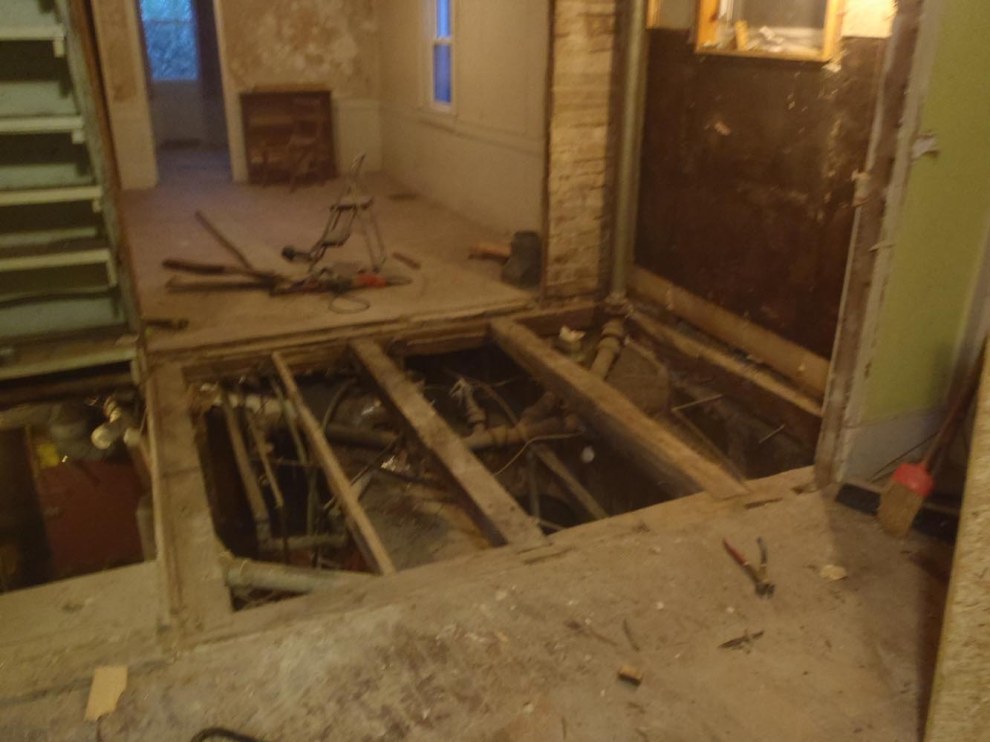
Looks at all that crap down there! But at least It made it much easier to reframe this piece of floor. ahem.
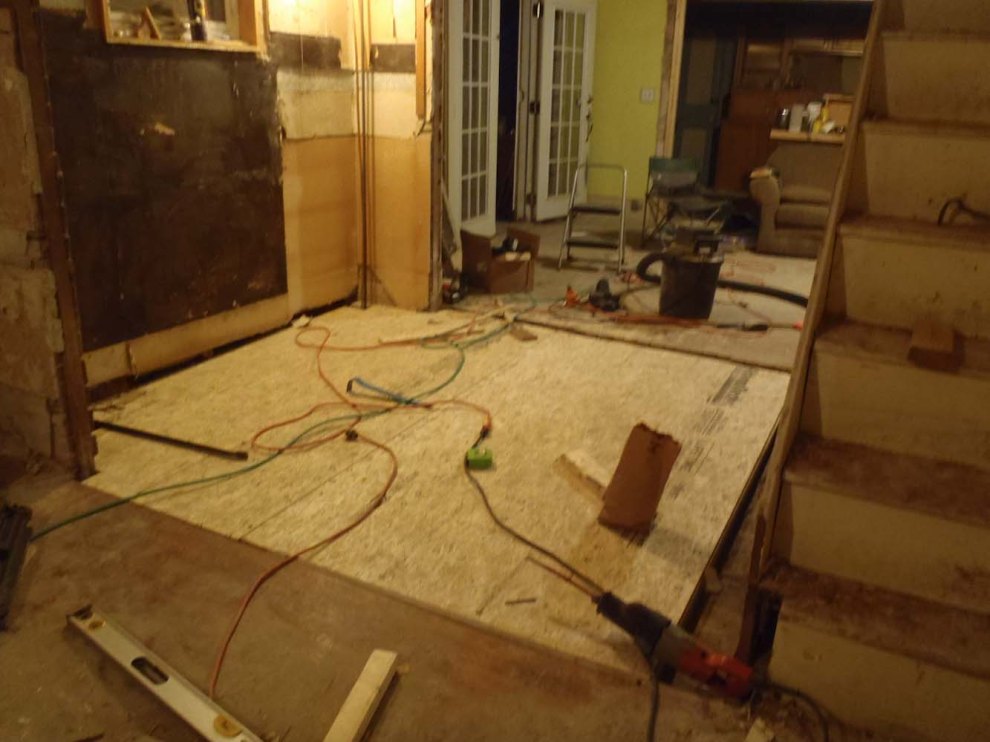
Ahh nice new floor.
Now the stairs can go.

or, maybe…. now?
 Now the stairs begin to go. Tell you what, square nails can hold.
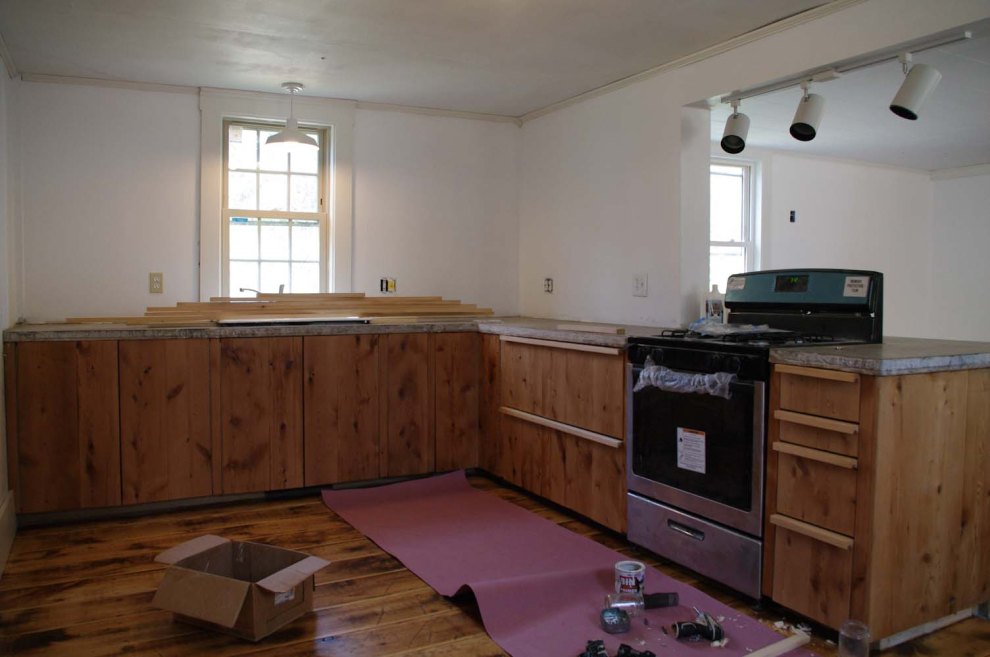
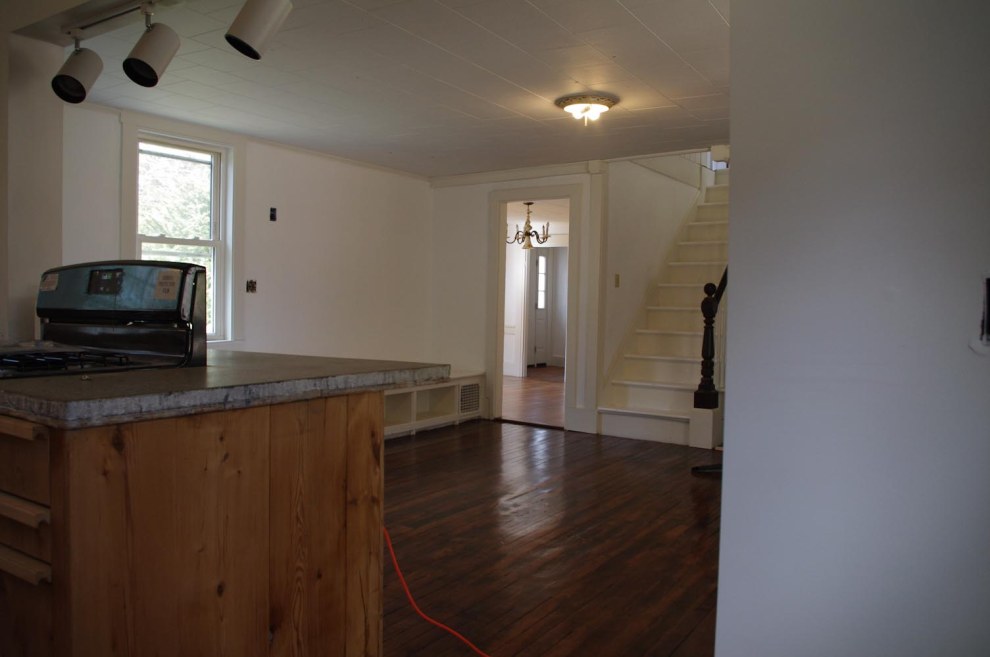
Ok… Now some almost finished pictures…
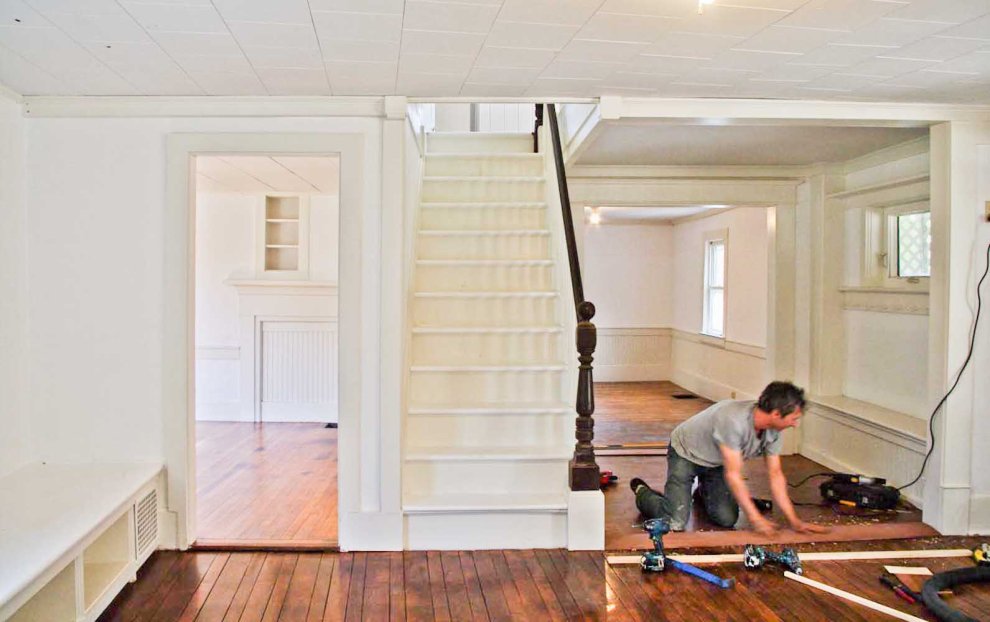
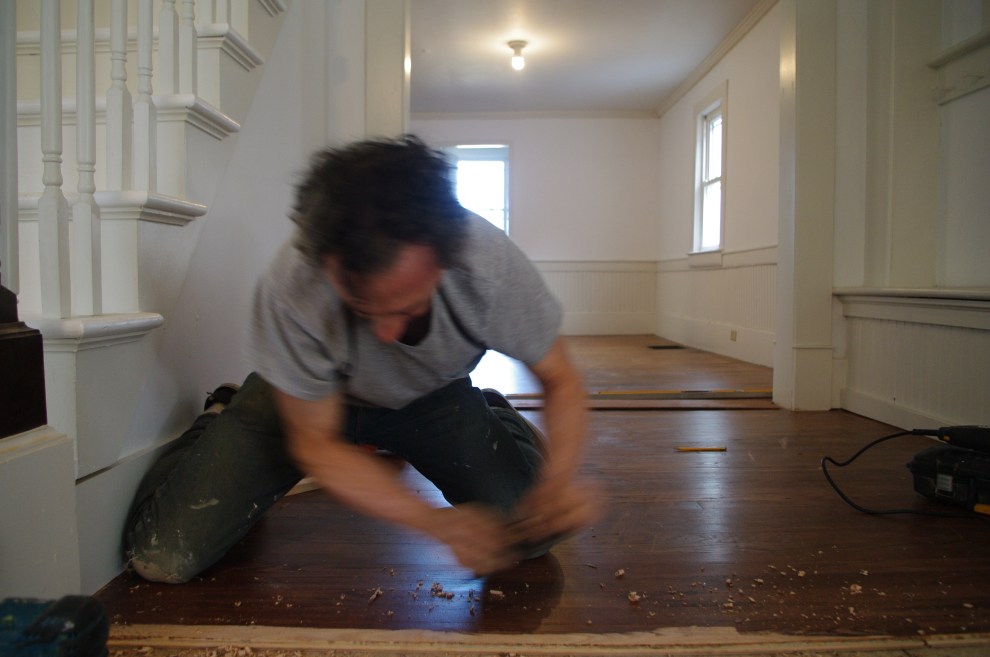
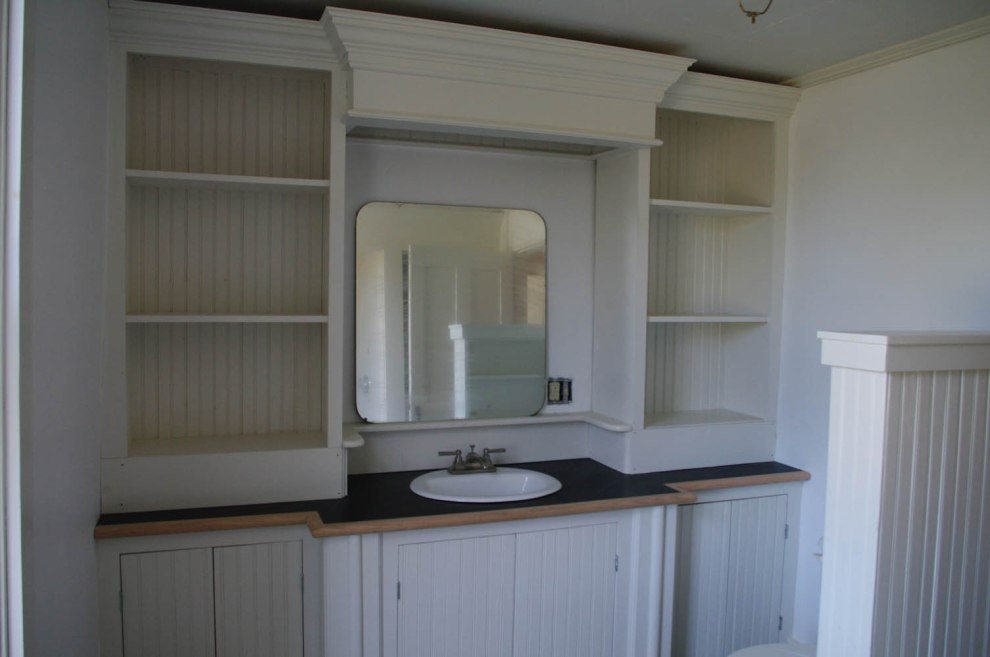
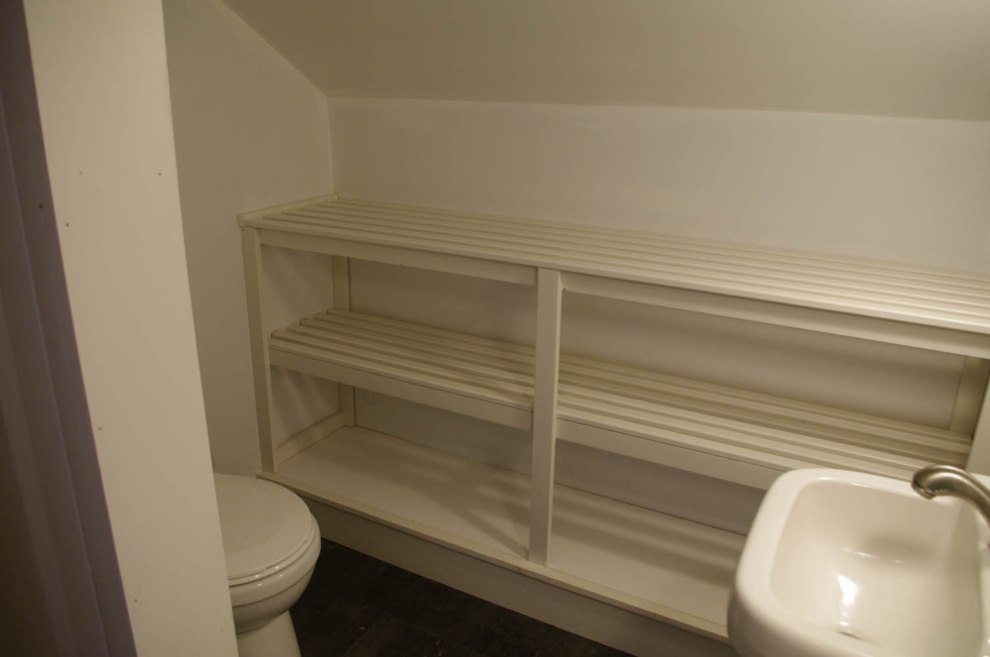
Here I am fitting an interior threshold, or saddle. I am kneeling on a new floor in what was the old bathroom. All new trim, the brand new stairs, a built-in bench with coat hooks to my left, and a wide built-in bench with shelves under to my right are some of the additions I made to the house. The floors have been refinished, new sheetrock and paint


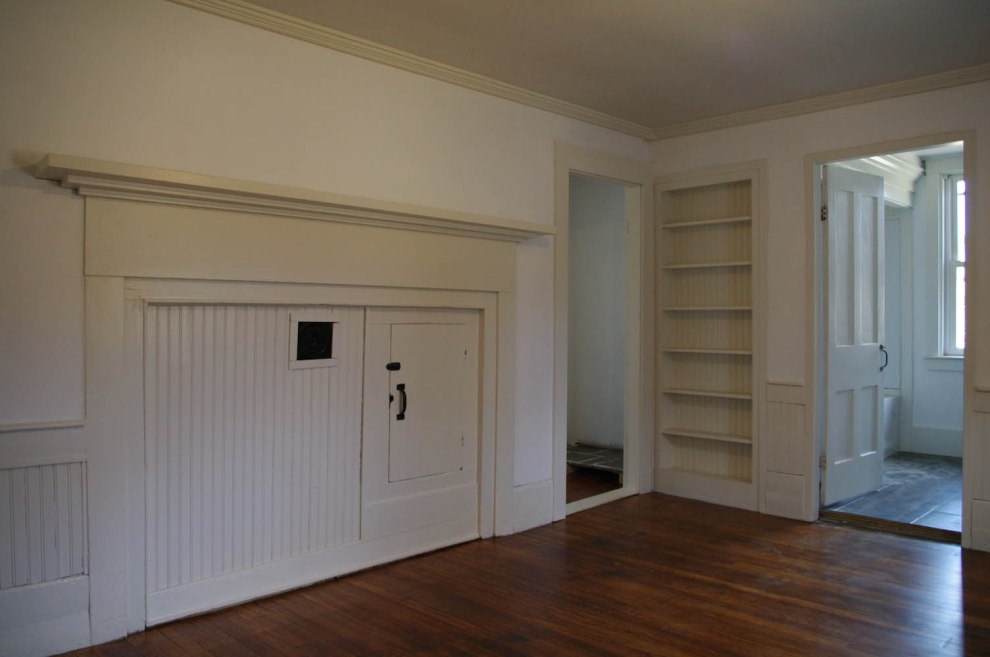
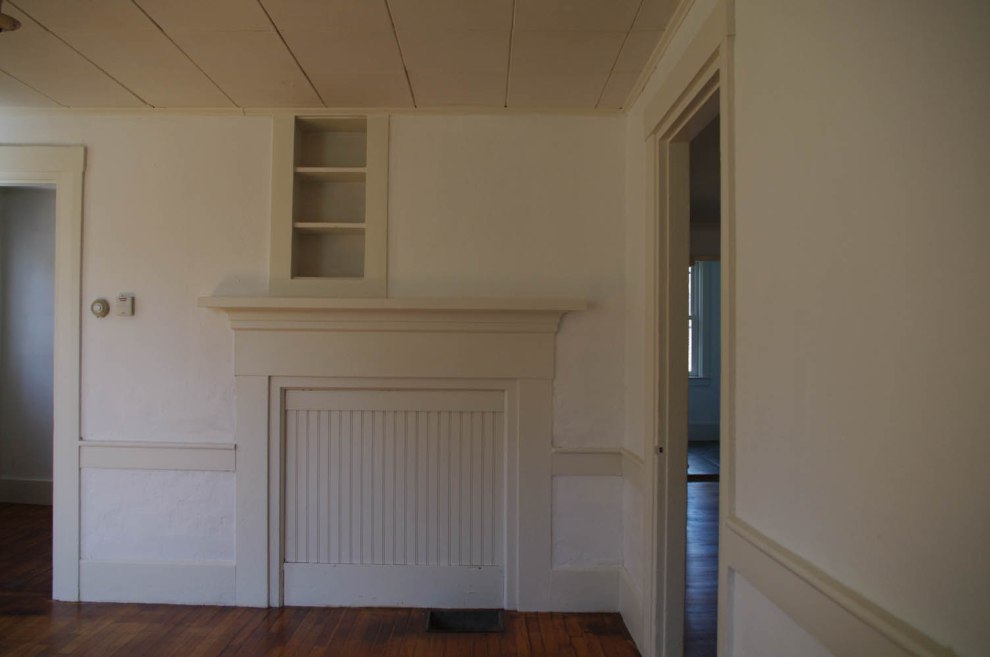
The Bead-board fireplace


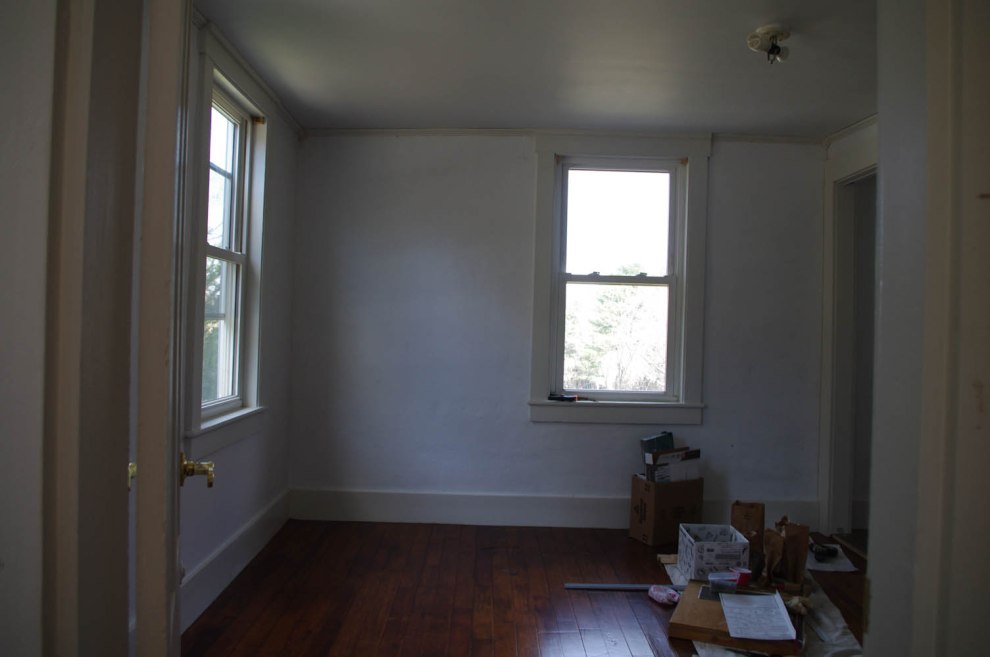


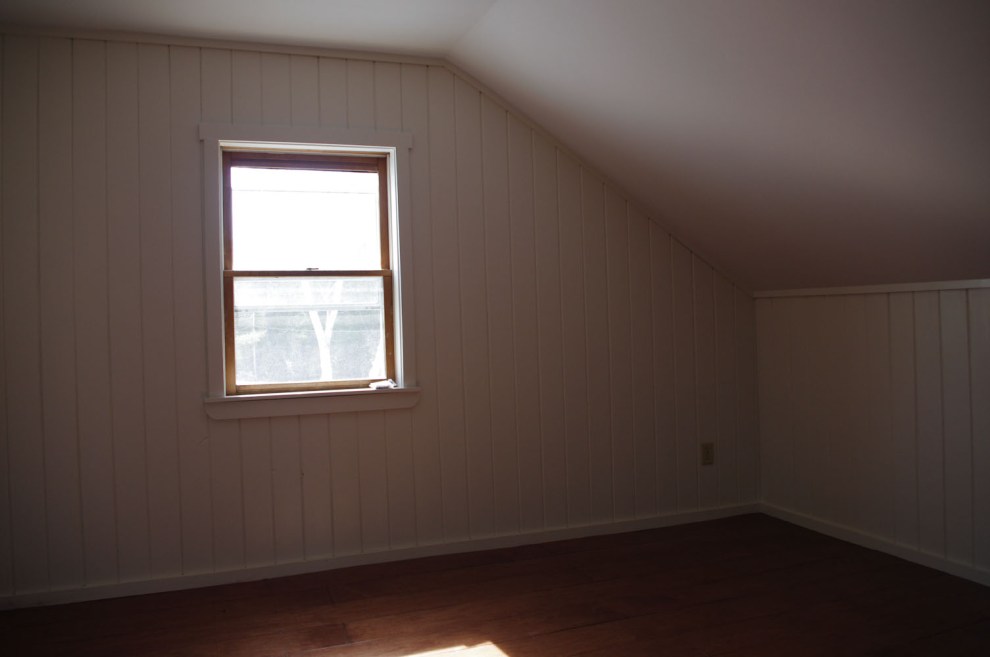

Another bedroom!

Here’s two image galleries of carpentry jobs I worked on. Both on Vinalhaven Island in Maine. From built-in cabinets to custom doors to clapboard siding to bead-board walls -In every image there’s something I can say… “I built that” or “I did a lot of work on that” (which is why they are here…obvs)
I must say as well, that i did not take these pictures, and don’t have permission to even use them… but they were too nice not to. (don’t you think?)


Check back- I have images (that I took!) of lots of other jobs that i will put up… in the FUTURE!
